Anyone who has spent a tech week backstage knows the smell of an iron left down a second too long. Burn holes happen — to costumers, to parent volunteers on pressing duty, to the rest of us at the ironing board. The good news is that a burn hole is almost always fixable, and you usually already own everything you need to fix it.
The trick isn’t one magic method — it’s matching the right method to your hole. Two questions decide almost everything:
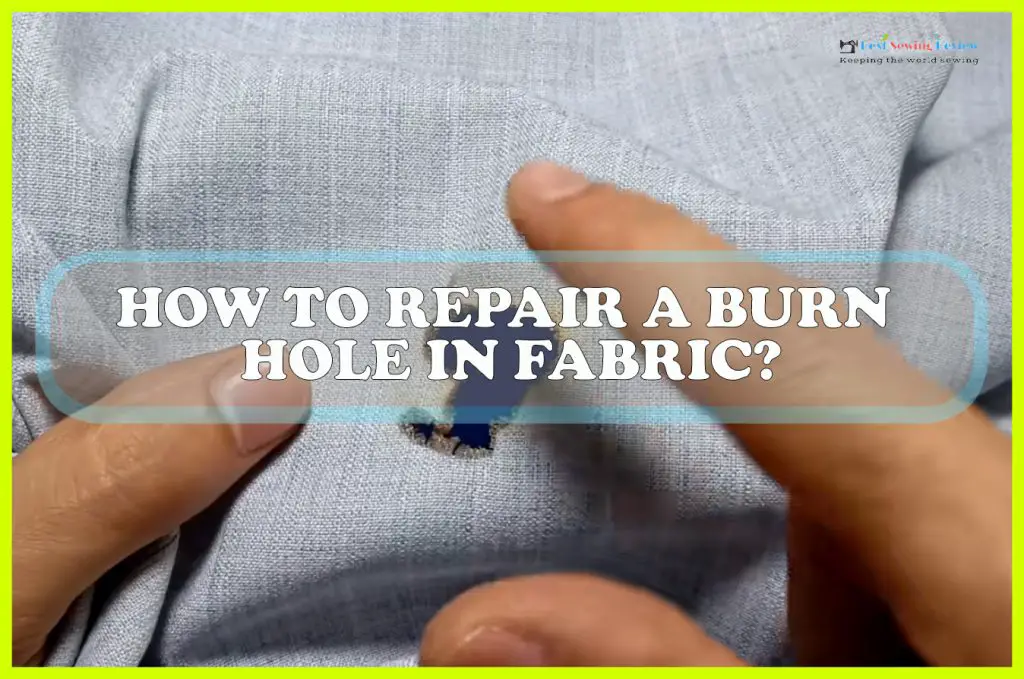
- Is it a scorch or a true hole? Pinch the spot. If the fibers are just discolored but still there, that’s a scorch — and you may not need to patch at all. If there’s an actual gap where the fibers burned away, that’s a hole.
- Is the spot hidden or on display? A burn on an inner seam, a hem, or the back of a couch cushion gives you room to be quick and practical. A burn dead-center on a shirt front means you’re either making it invisible or making it look intentional.
Hold those two answers in mind, and the right method below tends to pick itself.
First: stop the hole from growing
Before anything else, stabilize the edges. A burn weakens the fibers all around the hole, and every wash or tug makes it bigger. Trim away the charred, crispy, or melted edge with small sharp scissors until you reach fabric that still feels strong, then seal the raw edge with a fray-stopper such as Fray Check (clear nail polish works in a pinch). Let it dry. This thirty-second step is the difference between a dime-sized repair now and a quarter-sized one next month. The same idea applies any time you’re keeping a raw edge from fraying.
Method 1 — The no-sew fusible patch (best all-around fix)
This is the go-to for small holes in any woven fabric, especially in a hurry. You’ll need fusible bonding web or fusible interfacing (Stitch Witchery, Heat n Bond) and a scrap of matching fabric.
- Cut a piece of fusible web slightly larger than the hole, and a fabric patch about half an inch larger than that. Round the corners — square corners are the first thing to peel.
- Turn the garment inside out. Lay the fusible web over the hole on the wrong side, then the fabric patch over it, right side down.
- Set the iron to the fabric’s temperature, lay a pressing cloth over everything (always, especially on synthetics), and press firmly for 10 to 15 seconds. Press, don’t slide — sliding shifts the patch.
- Let it cool completely before moving it, then turn it right side out. The hole is backed and closed.
Honest expectation: this is invisible from the front on busy prints and matte fabrics, and lightly visible up close on solids. It’s perfect for everyday clothing — less so for a silk blouse under good light.
Method 2 — The costumer’s invisible patch (steal from the garment)
Here’s the secret that makes patches truly disappear: you almost never have a perfectly matching scrap on hand… but the garment does. The inside hem allowance, a seam allowance, the bottom of a pocket bag, the tail of a shirt — all the same fabric, same dye lot, same number of washes.
Snip a small square from one of those hidden spots and use it as the patch in Method 1. Because it matches the wear and color exactly, the repair vanishes. It’s how a single costume can survive a whole run of a show without anyone in the audience ever knowing.
Method 3 — Darning and reweaving (the most invisible, the most patient)
For small holes in wool, suiting, and knits — where a patch would show — you reweave the hole shut thread by thread. Pull your thread from a seam allowance so the color matches perfectly, then:
- Wovens: stitch a grid with the grain — lay parallel threads one way across the hole, then weave the needle over-and-under them the other way, mimicking the original weave.
- Knits (sweaters, jersey): use Swiss darning (duplicate stitch), tracing each existing stitch with matching yarn so it blends into the knit.
It’s slow and it takes a steady hand, but on a good wool blazer it’s worth every minute — and it’s exactly what professional reweaving services do.
Method 4 — Turn it into a feature (when you can’t hide it)
Burn right on the front of a denim jacket or a child’s favorite shirt? Stop fighting to hide it and make it intentional. An iron-on motif, an embroidered flower, a small applique, or sashiko-style visible mending (those lovely running-stitch patches) all cover a hole and look like you meant it. Denim practically begs for this — visible mending is having a real moment, and it’s the most durable fix of all.
Method 5 — Burn holes in upholstery and couches
Furniture is the same idea with a sturdier anchor. For a small burn in a fabric couch or chair:
- Trim the charred fibers back to clean fabric.
- Cut a backing patch (from an arm cover, a hidden cushion seam, or a fabric-store match) a bit larger than the hole and slide it behind the hole with tweezers.
- Secure it with a strong fabric glue such as Fabri-Tac, or fusible Stitch Witchery, pressing the top fibers down into the adhesive.
- For tiny cigarette burns in microfiber, trim the singed fibers, dot the edges with glue, blend a few matching fibers in, then fluff with a toothbrush.
Real talk: leather, vinyl, and large upholstery burns are a different job — reach for a dedicated leather/vinyl repair kit, or call a pro. Don’t try to darn a couch.
Method 6 — When to hand it to a professional
Some things are worth not gambling on: a wool suit, a wedding dress, designer or vintage pieces, anything sentimental. A professional invisible reweaving service can rebuild a burn hole so you’d never find it. It isn’t cheap, but on a garment you love, it beats a DIY patch you’ll always notice.
Quick guide by fabric type
| Fabric | Best method | Watch out for |
|---|---|---|
| Cotton / linen | Fusible patch or darning | Takes heat well — the easiest to fix |
| Denim | Patch or visible mending | Lean into it; topstitch for strength |
| Polyester / nylon (synthetics) | Trim the melted bead, fusible patch from behind | Melts — low iron and a pressing cloth; never darn through a fused lump |
| Wool | Reweave or darn; a pro for suiting | Don’t over-press; it can felt and shine |
| Silk | Feather-light fusible or a pro | Heat-sensitive — scorches easily, test first |
| Knits / jersey | Swiss darning, knit fusible interfacing | Keep the stretch — don’t fuse it stiff |
| Fleece | Trim and patch | Doesn’t fray, so small burns are forgiving |
Frequently asked questions
Can you fix a burn hole without sewing?
Yes — a fusible bonding web patch (Method 1) needs only an iron. For a no-tools emergency, a fabric repair patch with adhesive backing will hold until you can do it properly.
Will a burn hole get bigger if I leave it?
It will. The scorched edge keeps fraying with every wear and wash. Trimming and sealing the edge early is the single best thing you can do.
What’s the difference between a scorch and a burn hole?
A scorch is surface discoloration — the fibers are intact, and sometimes the mark lifts (hydrogen peroxide on white cotton, gently and tested first). A burn hole means the fibers are gone; that always needs a patch, darn, or cover.
Can a tailor or dry cleaner fix a burn hole?
Yes. Ask specifically for reweaving or invisible mending. It’s well worth it on tailored wool and anything you can’t replace.
Can you fix a cigarette burn in a couch yourself?
Small ones, yes — see Method 5. Large burns, or leather and vinyl, are better left to a pro or a dedicated repair kit.
A last word from the sewing table
Don’t throw the garment out. Costumes, jeans, kids’ coats, couch cushions — most of them can be rescued with what’s already in the sewing box. Trim it, stabilize it, match your method to the hole, and take your time. Your favorite things are worth ten patient minutes.