Pants that slide down all day usually mean the waist is too big — and while a belt is the obvious patch, the real fix is to take the waistband in so they stay put on their own. Here’s the full range, from a five-minute hold to a proper alteration.
Quick holds
- A belt — and if the pants have no loops, sewing on a couple of belt loops takes minutes.
- Suspenders for a guaranteed hold under a jacket.
- Tighten or replace the drawstring on drawstring styles; a knot at the casing keeps it from loosening.
- Silicone gripper strips sewn or ironed inside the waistband add friction so they don’t slip.
The real fix: take in the waist
- Take in the center back seam. The simplest waist alteration: open the waistband at center back, take in the seam below it, taper down toward the hips, and re-close. Pinning it on first tells you exactly how much to remove.
- Add darts at the back waist to remove width while keeping the hip room.
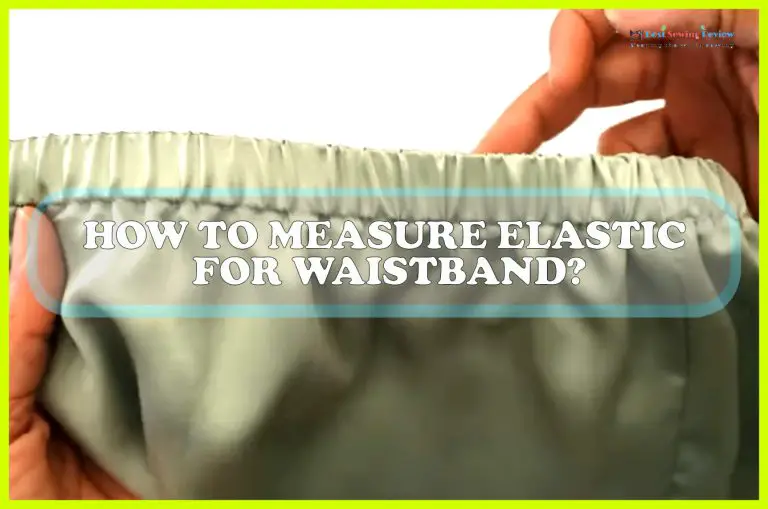
- Add elastic to the back waistband. Thread a length of elastic through the back of the waistband (or sew it in) so it cinches to your waist while staying comfortable — great for pull-on styles.
For jeans and tailored trousers, taking in the center back is the cleanest result; for soft or elastic-waist pants, the elastic insert is quick and comfortable. A tailor can do any of these inexpensively if you’d rather not.
Frequently asked questions
How do you keep pants from falling down without a belt?
Take in the waist (center back seam, darts, or an elastic insert), add silicone gripper strips inside the waistband, or wear suspenders. Taking in the waist is the lasting fix.
How do you take in a pants waist?
Open the waistband at center back, take in the seam by the amount you pinned, taper toward the hips, and re-close the waistband. Or add back darts to remove width.
How do you make a waistband smaller without sewing?
Use a belt with added loops, an iron-in elastic gripper, or a waistband-tightening clip. For a true size change, the waist needs to be taken in.