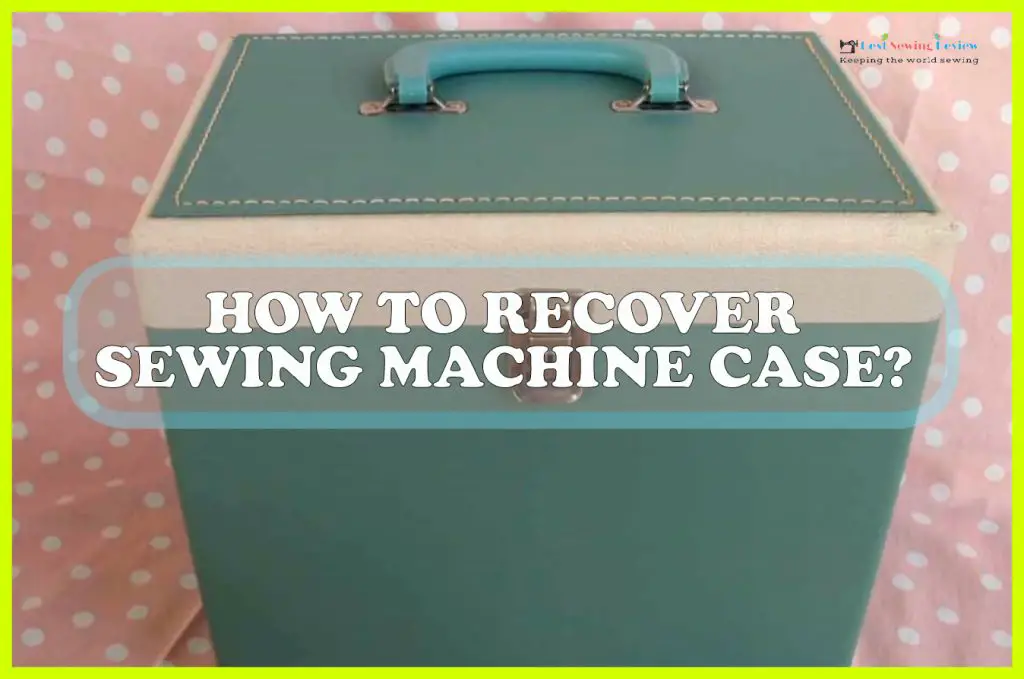
How To Recover Sewing Machine Case

How To Recover Sewing Machine Case?: How To Fix Guide!

If your sewing machine case is looking a bit worse for wear, don’t despair! There are several ways you can recover it and give it a new lease on life. The first step is to remove the old cover.

This can be done by carefully unzipping it or by cutting it away if it is too damaged to remove any other way. Once the old cover is off, you can start measuring and cutting the new fabric. It is important to allow for extra fabric so that you can tuck it under the case and create a neat finish.

Once the new fabric is cut to size, you can start attaching it to the case. This can be done with glue, staples, or by sewing it on. Whichever method you choose, make sure the new fabric is firmly attached before moving on to the next step.

The final step is to add any embellishments you like to personalize your sewing machine case. This could include buttons, ribbons, or fabric paint.

How To Recover Sewing Machine Case

Credit: www.stillstitching.com

How do you restore an old sewing machine case?

If your sewing machine case is looking a bit worse for wear, don’t despair – it can be restored to its former glory with a bit of elbow grease and some basic supplies. Here’s how: 1. Start by giving the case a good cleaning.

Use a soft cloth and a mild soap and water solution to remove any dirt and grime. 2. Once the case is clean, you can start repairing any damage. Small scratches can be buffed out with furniture polish, while deeper gouges may require some sanding and repainting.

3. If the interior of the case is lined with fabric, you may want to consider replacing it. This can be done easily by Measuring the fabric and cutting it to size before attaching it to the case with fabric glue or staples. 4. Once you’ve repaired any damage and replaced any worn-out fabric, give the case a final polish.

How do you restore a featherweight case?

If you have a vintage Singer Featherweight sewing machine, you know that it’s a true workhorse. These machines are built to last, but that doesn’t mean they don’t need a little TLC from time to time. If your Featherweight is in need of a little love, here’s how to restore it to its former glory.

Start by giving it a good cleaning. Use a soft, dry cloth to dust off the body of the machine and the sewing surface. Then, use a slightly damp cloth to wipe down the machine.

Be sure to avoid getting any water on the electrical components. Once your machine is clean, you can oil the moving parts. This will help to keep everything running smoothly.

Just a few drops of oil will do. Use a light sewing machine oil and apply it to all of the moving parts, including the needle bar, the shuttle race, and the handwheel.

How do you open an old wooden Singer sewing machine?

Assuming you have an old wooden Singer sewing machine that is not already open: To open an old wooden Singer sewing machine, first, locate the two screws on the front of the machine. These screws are located just below the Singer logo.

unscrew these two screws using a Phillips head screwdriver. Next, locate the two screws on the left side of the machine. These screws are located just below the handwheel.

Unscrew these two screws using a Phillips head screwdriver. Finally, locate the two screws on the right side of the machine. These screws are located just below the spool pin.

Unscrew these two screws using a Phillips head screwdriver. At this point, the top of the machine should be loose. If it is not, check to make sure all screws have been removed.

Once the top is loose, lift it off of the machine. Underneath the top, you will see the inside of the machine.

How do you repair an old sewing machine?

If your sewing machine is starting to show its age, there are a few things you can do to try and repair it. First, check the manual that came with your machine. Often, there are troubleshooting tips and tricks that can help you fix common problems.

If you don’t have the manual, you can usually find it online. If your machine is having trouble with the thread, start by cleaning out the bobbin case. If that doesn’t help, you may need to replace the needle.

Make sure you are using the correct type and size of needle for your machine and fabric. If the machine is skipping stitches, it could be due to a number of factors. First, check the tension.

If that’s not it, you may need to clean or replace the hook. Or, it could be a problem with the feed dogs. If your machine is making strange noises, it’s probably time for a tune-up.

Conclusion

If you’re looking to recover a sewing machine case, there are a few things you’ll need to do. First, you’ll need to remove the old fabric from the case. Once the old fabric is removed, you’ll need to measure the case and cut out new fabric to fit.

Once the new fabric is cut out, you’ll need to sew it onto the case. Finally, you’ll need to add any embellishments you want to the new fabric.

Facebook
Twitter
LinkedIn
Pinterest

Related Posts

How to Measure Elastic for Waistband
Sewing Machines

How to Calculate Elastic for Waistband

Elastic waistbands are a staple in the world of sewing, providing comfort and flexibility to a wide range of garments. Whether you’re a beginner, intermediate, or expert sewer, mastering the art of calculating and attaching elastic for a waistband is a valuable skill. In this comprehensive guide, we’ll explore various methods suitable for sewers of

Read More

How to Fix Necklace Clasp Spring: Quick & Simple Guide

To fix a necklace clasp spring, gently use small needle-nose pliers to realign and tighten the spring. Ensure not to over-bend the metal to avoid breakage. A broken necklace clasp can be a source of frustration, especially if it’s part of a treasured piece of jewelry. The good news is that with a few basic

Read More

How to Make a Blouse Collar Stand Up: Pro Styling Tips

To make a blouse collar stand up, use interfacing fabric and iron it for a crisp edge. Ensure the collar design is structured for an upright posture. A blouse collar that stands up adds a touch of elegance and professionalism to any outfit. It can transform a simple top into a statement piece, perfect for

Read More

How to Alter a Sequin Dress: Easy Glitz & Glam Fixes

To alter a sequin dress, first remove the necessary sequins, then reshape and stitch the garment. Use a seam ripper and matching thread for seamless adjustments. Altering a sequin dress might seem daunting, but it’s entirely achievable with the right approach and tools. Sequin dresses are often the centerpiece of a festive wardrobe, dazzling at

Read More

How to Fix a Bulging Zipper: Quick No-Sew Solutions

To fix a bulging zipper on a dress without sewing, slide a key ring onto the zipper pull and hook it over the button. Alternatively, use a safety pin to secure the zipper by attaching it discreetly from the inside. Struggling with a zipper that seems determined to put your outfit’s best look in jeopardy

Read More

How to Fix a Dress That is Too Low Cut: Quick Style Hacks!

To fix a dress that is too low-cut, attach a camisole or stitch a fabric insert. Use fashion tape for temporary coverage. Discovering that your dress is too revealing can be a dilemma, especially if it’s an outfit you adore. Dresses that plunge deeper than desired are a common fashion issue. Style-conscious individuals often face

Read More

How to Fix an Iron Burn Hole on Clothes: Quick Repair Tips

To fix an iron burn hole on clothes, apply fusible interfacing or a fabric patch underneath the damaged area. Secure the patch with iron-on adhesive or sew it in place for a discreet repair. Dealing with an iron burn hole on your favorite piece of clothing can be disheartening. It’s something that happens to the

Read More

How to Fix a Lobster Clasp Spring: Quick DIY Solutions!

To fix a lobster clasp spring, gently use needle-nose pliers to realign and adjust the tension of the spring inside the clasp. Ensure the clasp’s lever operates smoothly after making adjustments. A lobster clasp, often a tiny and intricate part of jewelry, serves as a secure closing mechanism. Its spring mechanism can become misaligned or

Read More

How to Sew Ribbon on a Curve: A Step-by-Step Guide

To sew ribbon on a curve, pin the ribbon along the curved fabric edge and stitch slowly. Use a matching thread and maintain constant tension for smooth results. Sewing ribbon on a curved edge can elevate your sewing project with a touch of elegance and professionalism. The key to mastering this skill lies in precision

Read More

How to Fix a Low Cut Dress: Style It With Confidence!

To fix a low cut dress, attach a safety pin or use fashion tape discreetly. Consider sewing in a snap or hook for a permanent solution. Choosing the right outfit for your occasion often brings about the intersection of style and comfort. A dress with a plunging neckline can add a touch of glamour, but

Read More

How to Mend a Cigarette Burn Hole: Quick Fabric Fixes

To mend a cigarette burn hole, first clean the area, then apply fabric adhesive and patch material. Secure the patch by pressing firmly and allow it to dry. Discovering a cigarette burn on your favorite piece of clothing or furniture can be frustrating. Thankfully, with the right tools and a little patience, you can fix

Read More

How to Make a Dress Less Low Cut: Modesty Hacks!

To make a dress less low-cut, attach a camisole or a lace insert. Alternatively, use a scarf or fabric panel for coverage. Choosing the right dress for an occasion can be challenging, especially when you love a dress that’s a bit too revealing in the neckline. A low-cut dress might not fit every event’s dress

Read More